Cairns Fencing Specialists offers reliable fencing solutions for the Cairns area. Whether you need a DIY kit, professional installation, or expert advice, our team is ready to assist you. Our fences are built to withstand the tropical climate while enhancing privacy, security, and style.
In this article, you will learn why aluminium slat fencing is a practical choice for modern properties. We will provide a step-by-step guide to help you install aluminium slat fencing with ease. Let’s dive in.
Why Choose Aluminium Slat Fencing?
Aluminium slat fencing is a popular choice for residential and commercial properties in the Cairns area. Its durability, versatility, and modern appearance make it an excellent option.
1. Durability and Weather Resistance
Aluminium is rust-resistant and withstands Queensland’s tropical climate. Unlike timber, it does not warp or rot. It requires minimal maintenance and retains its appearance for years, even in humid and coastal environments.
2. Stylish and Customisable Designs
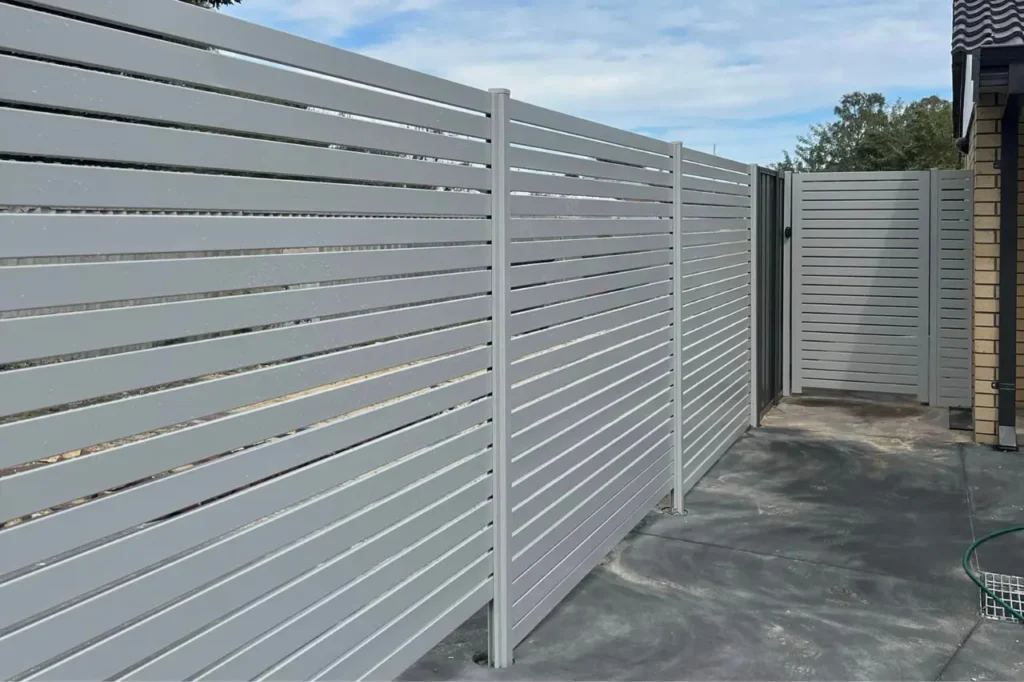
Aluminium slat fences come in a variety of colours, sizes, and configurations to suit any property. The horizontal slats provide a modern look, while adjustable spacing allows for control over privacy and airflow.
3. Ease of Installation
Aluminium slat fencing is easy to install, even for beginners. Kits often include pre-cut slats and channels, simplifying the process for DIY projects.
4. Versatility for All Properties
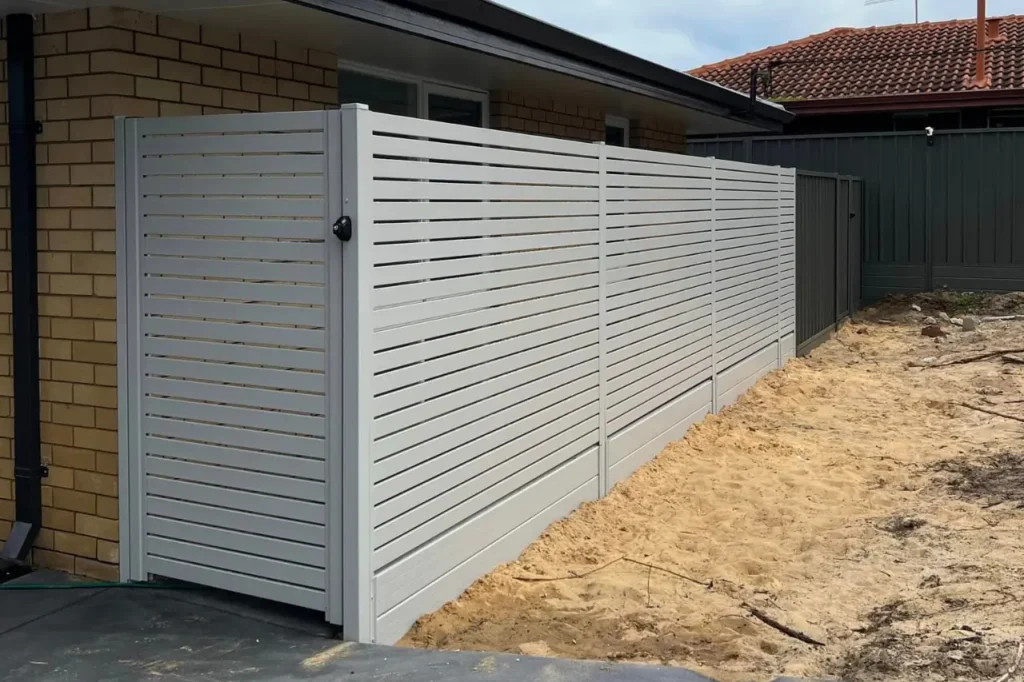
This fencing works well for both residential and commercial spaces. It is suitable for sloped landscapes, as the design can be adjusted to maintain a uniform appearance.
Benefits of Aluminium Slat Fencing
- Versatility: Perfect for boundaries, gates, or even decorative screens.
- Cost-Effectiveness: Long-lasting with fewer repair needs, offering excellent value for money.
- Ease of Installation: Lightweight yet sturdy, aluminium slats are simple to work with, even for DIY enthusiasts.
Overview of the Installation Process
Installing aluminium slat fencing involves several stages, including preparation, assembling, and securing the fence. Here’s a quick look:
- Pre-Installation Steps: Planning, measuring, and ensuring compliance.
- Installation: Marking the area, setting up posts, attaching slat channels, and installing slats.
- Finishing Touches: Cleaning and inspecting the fence for any adjustments.
Essential Pre-Installation Steps for Aluminium Slat Fencing
1. Planning and Preparation
Proper planning ensures a smooth and successful fencing project. Begin by determining your fencing requirements:
- Measure the area accurately.
- Decide on the height, style, and colour of your fence.
- Check local council regulations to ensure compliance.
2. Assessing the Installation Area
Inspect the ground for obstacles such as roots, rocks, or uneven terrain. Clear the area and ensure a level surface for proper installation.
3. Ensuring Compliance
In Cairns, fencing projects may require approval from local authorities. Contact your council to understand any specific regulations or guidelines.
4. Gathering Tools and Materials
For a successful installation, you’ll need the following:
- Aluminium slats and posts
- Slat channels
- Measuring tape
- Spirit level
- Drill and screws
- Concrete mix
- Safety gear (gloves, goggles)
D.I.Y. Installation of Aluminium Fencing
Tools and Materials Checklist
Ensure you have all the necessary tools and materials on hand before starting. This includes pre-cut slats and corner assembly components, if applicable.
Step-by-Step Guide
1. Preparing the Slats: Cut the slats to the desired size using a saw. Assemble corner pieces if needed.
2. Marking and Setting Out:
- Use stakes and string lines to mark the fence line.
- Mark post locations at equal intervals, ensuring spacing aligns with slat lengths.
3. Installing Posts:
- Dig holes for posts, ensuring they are deep enough for stability (at least 60 cm).
- Place posts into the holes, fill with concrete and use a spirit level to ensure alignment. Allow the concrete to cure.
4. Attaching Slat Channels:
- Fix slat channels to the posts using screws. Ensure they are aligned properly.
5. Installing Slats:
- Slide slats into the channels, securing them as needed. For angled installations, cut slats at the required angle and assemble accordingly.
6. Finishing Touches:
- Clean the fence, removing debris and residue from installation.
- Inspect for any loose components and tighten where necessary.
Pro Tips for DIY Success
- Double-check measurements: Precision is key to a professional finish.
- Pre-drill holes: This prevents damage to the slats and ensures secure fastenings.
- Use quality materials: Invest in corrosion-resistant screws and durable brackets to enhance the lifespan of your fence.
- Work in sections: Completing one panel at a time helps maintain alignment and consistency.
How to Install Aluminium Slat Fencing: A Step-by-Step Guide
Installing aluminium slat fencing doesn’t have to be daunting. Here’s how you can do it:
1. Mark and Set Out the Fence Line
- Use stakes and string to mark the boundaries of your fence.
- Identify the positions for posts and gates, spacing them evenly for a clean look.
2. Install the Posts
- Dig holes for the fence posts, ensuring they are deep enough to provide stability.
- Place the posts and secure them with concrete or bolt anchors, checking alignment with a spirit level.
3. Attach the Channels
- Once the posts are set, fasten the slat channels horizontally. These channels will hold the slats in place.
4. Insert the Slats
- Slide the aluminium slats into the channels, maintaining even spacing. Adjust the slat spacing for your desired level of privacy.
- For a sleek look, ensure each slat is aligned perfectly using a spirit level.
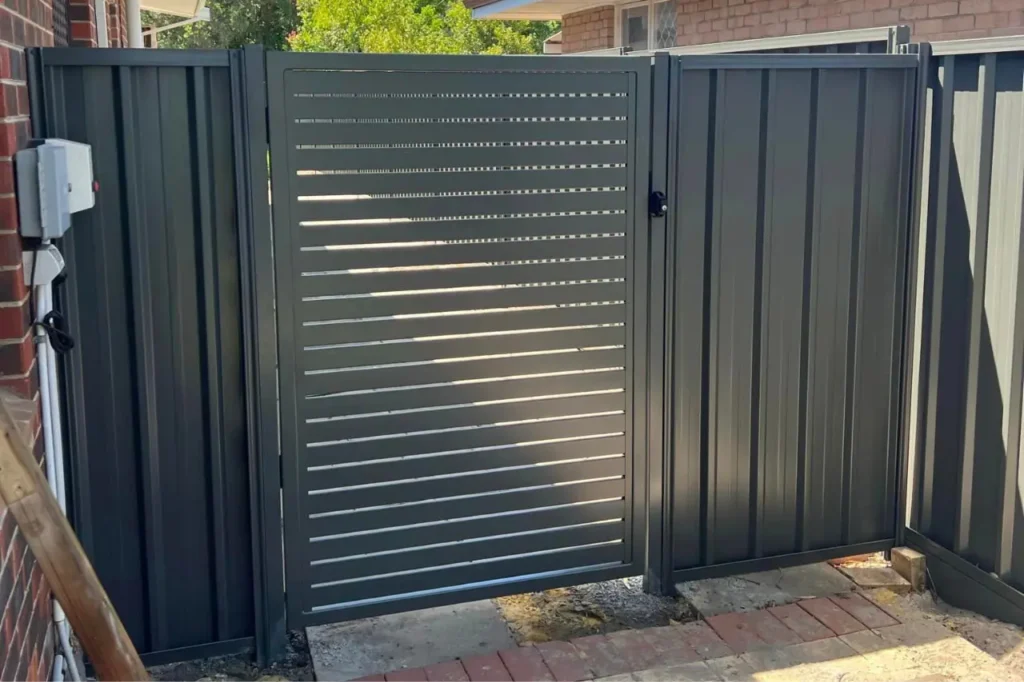
5. Install the Gate
- Attach the gate to its designated posts, ensuring it swings smoothly and the latch is aligned correctly.
6. Finishing Touches
- Inspect the fence for any gaps or misaligned slats.
- Apply a touch-up to any scratched areas with matchingpowder coat paint.
Maintenance Tips for Aluminium Slat Fences
One of the best features of aluminium slat fencing is its low-maintenance nature. Here’s how to keep your fence looking great:
1. Regular Cleaning
Rinse your fence with a garden hose or wipe it down with soapy water to remove dirt and grime.
2. Inspect for Damage
Periodically check the brackets, screws, and slats for signs of wear. Tighten or replace loose components as needed.
3. Protective Measures
If your property is near the coast, clean the fence more frequently to prevent salt buildup. Use a mild protective coating for added longevity.
Conclusion
Aluminium slat fencing is a fantastic choice for Cairns area homeowners and businesses looking for a durable, modern, and versatile fencing solution. Whether you’re planning to install the fence yourself or seeking professional assistance, the process can be straightforward with the right approach and tools.
If you’re ready to enhance your property with a sleek, low-maintenance aluminium slat fence, contact Cairns Fencing Specialists today. From custom designs to expert installation, our team is here to bring your vision to life. Don’t wait—reach out now to start your fencing project with the best in the business!
What’s Next?
If you’re looking to enhance your pool area with a secure and stylish fence, our guide How to Install Aluminium Pool Fencing, will walk you through the process step by step.
People Also Ask
How long does it take to make an aluminium slat fence?
Making an aluminium slat fence usually takes a few weeks, depending on its size and design.
What design options are available for aluminium slat fencing?
You can choose different colours, slat sizes, and layouts. Options include horizontal or vertical slats and various spacing for privacy.
Is aluminium slat fencing suitable for privacy?
Yes, aluminium slat fencing provides good privacy. You can adjust the slat spacing to increase or decrease privacy as needed.
Can aluminium slat fences be painted or stained?
Aluminium slat fences come in various colours and do not need painting or staining. They are easy to clean and maintain their colour.
How long does aluminium slat fencing last?
Aluminium slat fencing can last over 20 years with proper care. It resists rust and withstands different weather conditions.